

The joinery was accomplished with something like a drawer lock bit in a router or shaper and is wholly unsuited to the task. Keep in mind this is 1/2" material:

The drawers are made the same way and then fastened together with brads. The plywood panels on the front and back have completely delaminated and cracked. Every joint has failed. I long ago concluded that there was just no way to fix it.
I have been reluctant to start a major project because our house is on the market and we have to keep it ready to be shown at all times, so I was casting around for a smaller project and decided it was time to build a new chest. Regardless of the poor condition of the one I have, I really like having it and find it very useful. I think they are a nice complement to a traditional tool chest. Experience has suggested some modifications to the design of my current one though. First and foremost, I am going to build it to last. If there is one place that seems especially suited for through dovetails, this is it. By putting the tails on the sides, the joint mechanics will provide vertical strength. I've also decided that I want to make it bigger. My old chest is 12"x20"x8." With a rabbet on the back, a groove for the front panel and knobs on the drawers, that means the drawers are only 5 3/4" deep, a real limitation. I'm not going to be moving this chest around a lot and want lots of space, so I settled on 16"x24"x10". In view of the larger size, I decided to increase the thickness of the case from 1/2" to 5/8". Finally, I haven't found the half-width drawers to be advantageous so I am going to have all of my drawers full width.
It's time for true confession. Since I unplugged my chopsaw, I have been able to make all of my cuts to length in my Millers Falls Langdon Acme miter box, an amazingly precise and quick machine. However, today I discovered that the adjustment to increase the width of the board that can be cut has frozen. I'll have to take it all apart to unfreeze it, so I decided to bite the bullet and saw the pieces out with the panel saw I restored and sharpened recently. I attempted it first on a sawbench, which was an abysmal failure, so I tried it like Paul Sellers does with the board vertical, using the sideboard on my Nicholson bench:

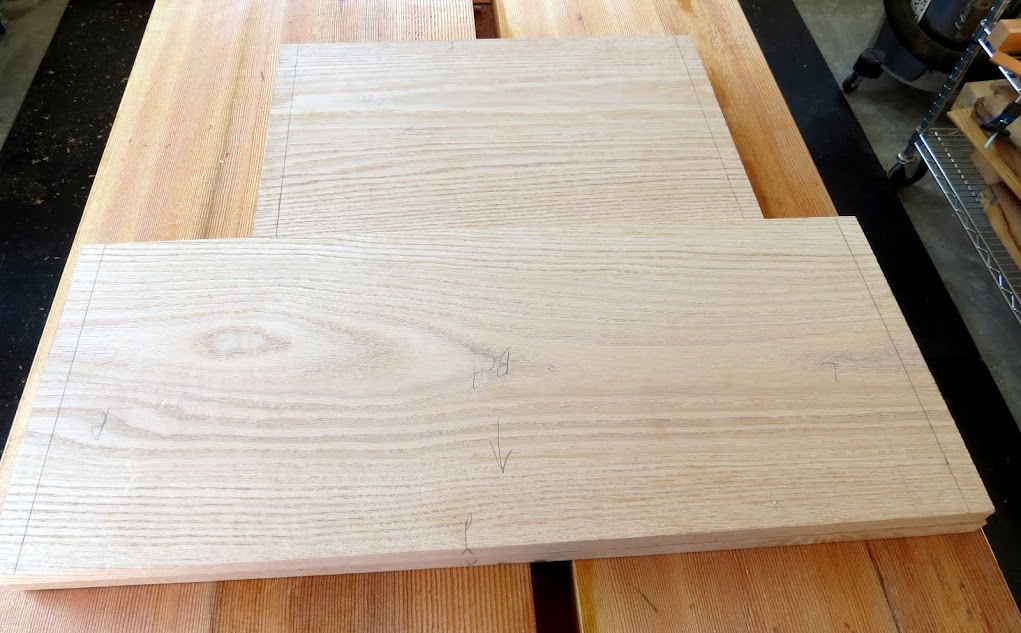
The knifewalls minimized splinters and helped me get the saw started straight. The cuts actually came out better than expected, mostly within 1/32". I don't have a shooting board big enough for a 10" board so I had to plane it down exactly square in my Moxon vise, which was tedious but it worked. If I do much of this, I'm definitely going to make a bigger shooting board.
How did I thickness the boards? I flattened one side with planes and then ran them through the planer. I also ripped them to width on my bandsaw. These are two of the power tools I'm keeping, mainly because I'm lazy.
So, I'm ready to go. Every time I cut dovetails, I feel like I am starting over. It's like a musical instrument: you can't just pick it up once a month and expect to play well. I probably should cut a few practice joints, but . . .
Hi Andy,
ReplyDeleteYou can use your workbench as a big shooting board. Clamp a straight board on the back edge, place a couple of thin pieces of wood down to raise the board to be planed, place it against the straight edge and shoot it square.