
As I've written here, I frequently run across nice saws at garage sales and flea markets for very low prices, but the problem is that the teeth are often badly uneven and misshapen. Restoration is considerably more challenging than just resharpening a dull saw with nice straight, even teeth.
Such was the case with the backsaw you see pictured at the top of this blog when I bought it. At that point, I was unwilling to attempt the restoration myself and so I sent it to an expert in northern California named Marv Werner whose forum posts I learn a lot from. He did an outstanding job and I highly recommend him. If you are interested in his services, you can email him at werner161 (at) mchsi.com.
This may look somewhat daunting but the key to his method is to do a little bit at a time, jointing and filing to reshape the teeth multiple times. If you practice on a $5 saw, there is very little downside, so take the plunge.
*************************************
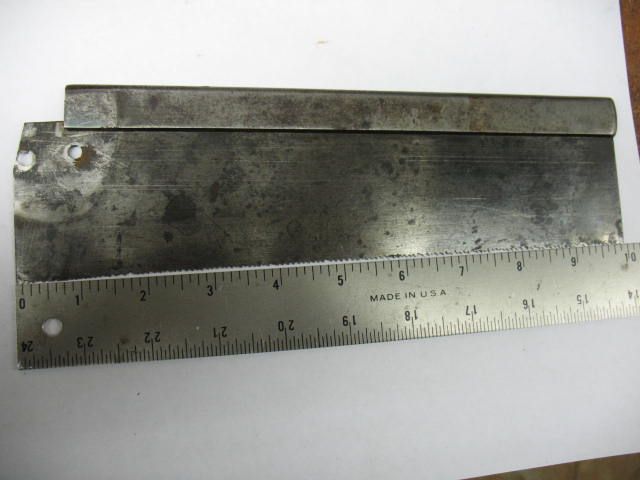
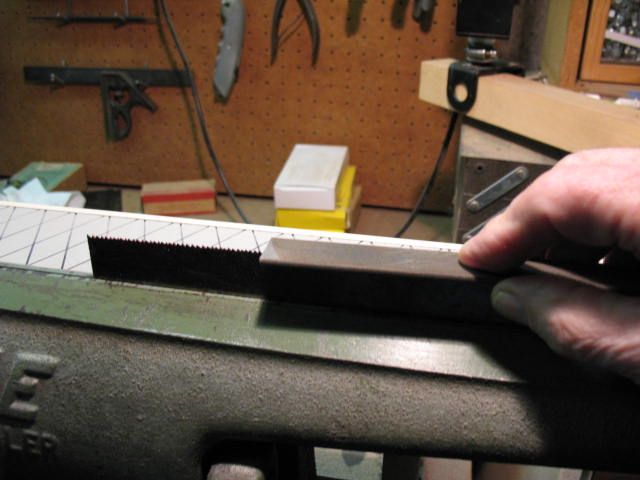
Just so happened to be fixing a backsaw today that exhibits some of the same problems we were discussing. This saw isn't as dramatic looking but is a little more difficult due to the small 14-1/2 PPI and missing teeth. As you can see there is quite a gap in the middle of the tooth edge on this saw.
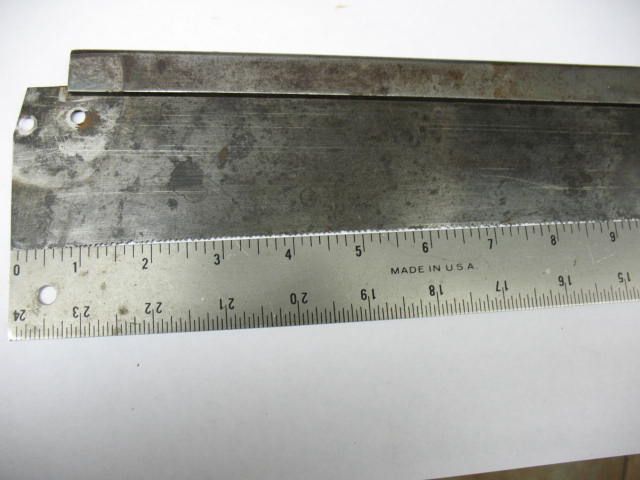
This shows the amount of jointing on the belt sander for the first jointing. Only about 1-1/2" at the heel end. [I don't have a belt sander so I used a file in a Veritas jointer/edger. It occurs to me that you might be able to cut a sanding belt and mount it on a piece of mdf as a substitute for a belt sander. The advantage is that you could more easily get the entire toothline exactly straight.]
This is what the first filing looked like after the second sanding or jointing.

Here I'm sanding again
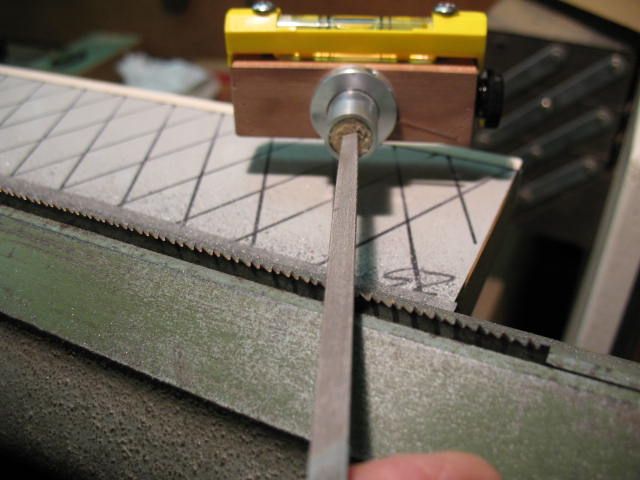
This is how much jointing was done on the last sanding. I leave just enough of the gullets to identify the spacing. As you file, you are moving the gullet left or right, in an attempt to shape the teeth to be the same width. It's a judgment call on each tooth and doesn't all get done on the first or second jointing and filing. You do a little more moving of the gullets each time. [This was a key lesson for me, to repeatedly joint the saw and move the gullets a little bit each time. I did this by eye but it might be useful to use one of these templates.]

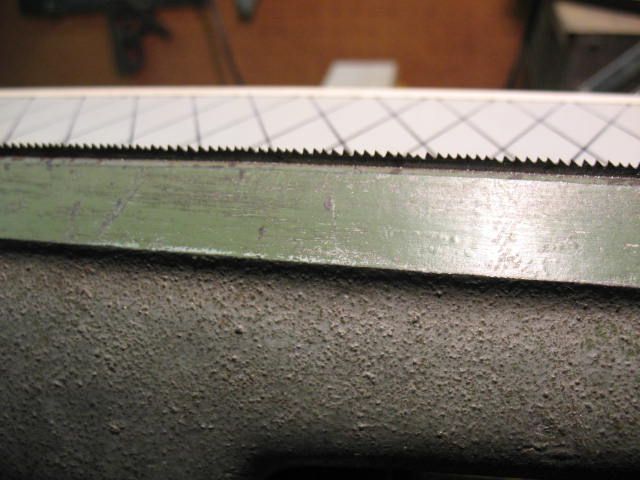
This is how the teeth look after four jointings on the sander. I'm now filing all the teeth, but there are still some that are not spaced right or are full size. Two more jointings and filings will be done after this, a total of six times before filing in the fleam angle. This saw had another problem besides the dip in the middle; there were several teeth that, due to poor filing, were down to almost nothing. This required more jointings than usual to make the teeth grow back.
Here the fleam angle is being filed. Prior to filing the fleam, the teeth are set. I set them at about .005 each side. This is more than is needed, but some of it will be filed away during the final shapening. Filing the fleam angle and sharpening are two different things. Explained below.... If you look closely you might be able to see black marks under every other tooth. Those marks are felt tip marks to show which teeth get set from that side. The same on the other side, but alternating teeth. You don't want to set two teeth that are next to each other the same direction.
At this stage, the fleam angle is filed and I'm now doing a light jointing and will give the teeth a final touch-up or sharpening. Jointing the teeth right after filing the fleam angle shows the teeth that didn't get filed exactly even, leaving some teeth a little longer. When filing the fleam angle, the thing that is different from sharpening the teeth is, you must file so that you get a point on both teeth on each side of the file when you file from right to left, every other tooth. You do the same thing when filing the other way from left to right. Remember that the teeth are shaped like rip teeth and have a straight across edge. When sharpening, on the other hand, you first lightly joint the teeth, then file only half the small flat from every other tooth, from right to left, then do the same thing from left to right. When you file the fleam, you are creating a point that will be located to the outside of the teeth on both sides of the saw. When you sharpen, you are sharpening those points.
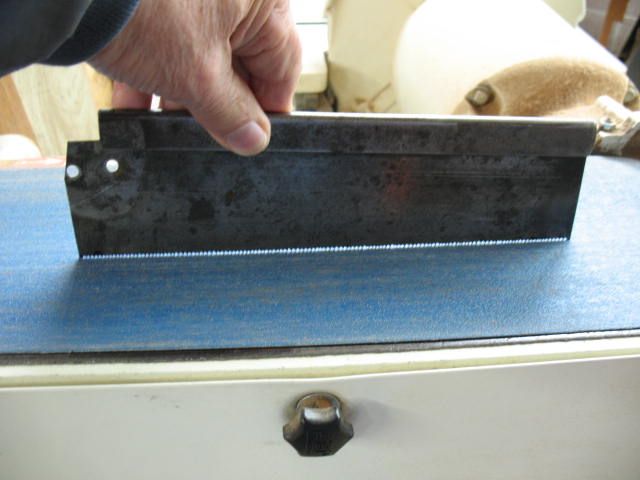
After the final light jointing and sharpening, do a light side jointing of the teeth with the saw blade laying on a flat surface. I use a slip stone and slide it over the teeth a couple times on each side.
Then put the handle back on the blade and go do some happy sawing...

Hi Andy,
ReplyDeleteThank you for posting my tutorial on saving an old saw.
I see there are no comments from your readers. Perhaps it is because there is no interest in saving an old beat up backsaw. My guess is, most people will not even buy a saw in the condition the saw was in that is featured in the above pictures.
New saws are very expensive, at least for my wallet and I'm sure it is for many others as well. Buying an old saw on eBay for example and then paying someone to fix badly filed teeth can be expensive too. However, there are some alternatives.
I did the above tutorial for the purpose of showing that it is possible to save that old beat up flea market saw that can be bought for a very low price instead of passing it up. The tutorial is only one method of fixing a saw like that. There are other ways of doing it. The blade can be retoothed by a retoothing machine. The teeth can be ground completely off and retoothed by hand. It depends on how bad the teeth are misshapened and your skill level when it comes to filing a saw. A skilled saw filer can do what I did and end up with a saw that will cut as good or even better than when it was new. I can normally fix a saw like the one in the above pictures for around $65. If you are lucky to find an old saw for around, say, $20, you can end up with a very well performing saw at a relatively low price. Even cheaper if you can do the filing yourself.
So, for those of you who are reading this, and don't want to pay big bucks or can't afford a new saw, give some thought to giving that old saw you see at a garage sale or flea market another chance to be restored to cut dovetails or tenons or do some excellent bench work and be a welcome member of your saw till crowd.
Marv Werner
Marv,
ReplyDeleteI don't think the lack of comments is indicative of a lack of interest. It has been viewed over a thousand times and will continue to be viewed. Many people are like me: they read a lot of blogs but rarely comment.
There is a special pleasure in taking an old, beat up saw that is essentially worthless and returning it to close to prime functional condition. Not cosmetically, but functionally. And the signs of age and wear give character.