
I settled on mitered corners as the fastest, easiest, best looking alternative; that was the impetus behind making a donkey's ear. Mitered corners make fitting the bottom quick and easy: I just use my plow plane to create a groove. Like everything else, though, there is a price to pay and, in the case of a mitered corner, it's the inherent weakness of the joint, which relies entirely on glue. While they would probably be OK for a small box without reinforcement, I am just not satisfied. When I had a table saw, I used a jig for cutting splines that was a great alternative. Make the splines from a contrasting wood and they become a design element. You could do the same thing with a handsaw, but you have to make parallel cuts and then chisel out the waste. My problem with this alternative is that my smallest chisel is 1/4" and splines this thick look too big to my eye for small boxes. I like about 1/8".
There is another alternative. While some of you may cringe at this, I think that putting a pair of dowels in each corner could look nice. The main disadvantage is that the dowel would be very close to the corner, so breaking it out is a distinct possibility in 3/8" stock. However, in a box all the dowels would work together and the force would be applied in the opposite directions between pairs of corners, so I think it would be OK and want to give it a try. You've got to make or buy very small dowels to do this, so I started to look around to see what is available and found that Lee Valley sells 1/8" beech micro dowels for joinery.
I think that I could make half a dozen of these boxes in a day or so. Here's the process:
Cut the miters:

Refine them on the donkey's ear:

Cut the groove for the bottom with a plow plane:

Use the plow plane to create the side rabbets in the top and bottom, which are identical:

(I had to define the cross grain rabbets with a saw because my plow plane doesn't have a knicker.) Here's a neat trick I read somewhere for the glue up. Lay the pieces out and apply masking tape. Turn the assembly over and apply glue to the miters. Tape the final corner when you assemble the box. The tape pulls the joints tight enough that you don't need clamps:

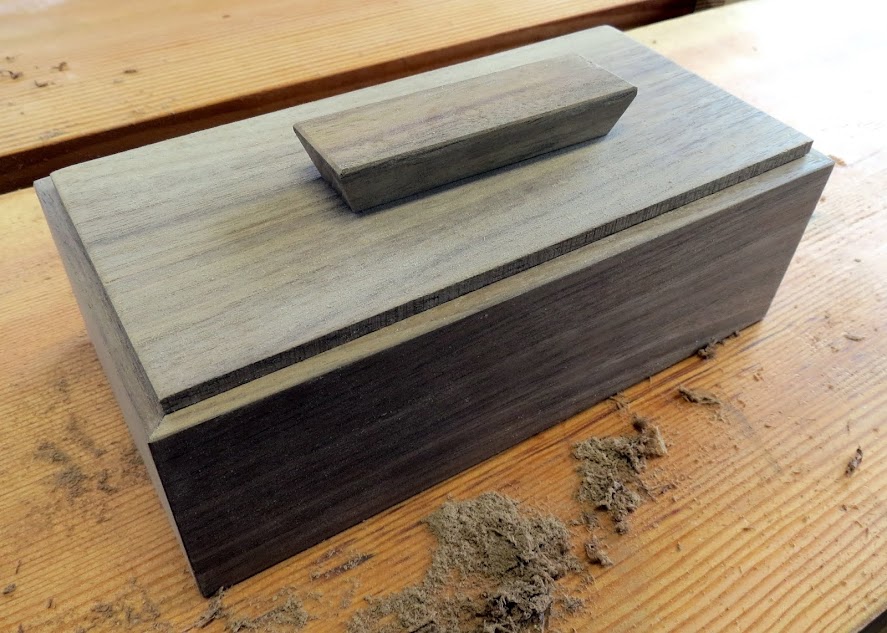
Here's the result:

A funny thing happened. I thought this box was ugly, so I cut it off. Much better:
That left a cutoff that I decided to test:

That is 50 lbs. perched on top of one of the corners applying force on the diagonal of a cutoff only 7/8" wide. I also twisted it in my hands quite forcefully and it held together. Maybe glued up miter joints are stronger than I thought. I'm still going to reinforce the corners though. It's a belt and suspenders thing. I've ordered the micro dowels and a 1/8" chisel. :)
A quick alternative would be to use your plow plane to make the groove for the spline. Roy Underhill has an episode from last season demonstrating that.
ReplyDeleteThat's very interesting. I'll look for it as I can't imagine how he does it.
ReplyDeleteHere is the link to the video: http://video.pbs.org/video/2263884494/
DeleteA possible trick with hand sawing the splines is that they don't have to be that thick. Splines the thickness of a single saw kerf will still add tremendous strength. In a box that size, you could add two pairs of hand-cut "dovetailed" (alternating angled) splines in each corner miter, like Paul Sellers does in this picture frame: http://paulsellers.com/2012/02/my-inlaid-picture-frame/
ReplyDeleteAnother great idea.
DeleteDowel! Baby Dowel! :D
ReplyDeleteI think your idea is a really good one as well. I'm about to dowel some drawer joints myself by makin' some rabbets, hand drilling the hole and poppin' a hand made dowel.
I've been using bamboo dowels for quite a few years now, they're usually 1/8" or fatter, so I shave them down in a hunk of steel with a 1/8" hole drilled in it, any you can buy them by the hundred for a buck or so at any Asian grocer, a.k.a. "Satay sticks", a.k.a. bamboo skewers.
ReplyDeleteI don't use a saw to cut them, I use side cutting pliars--snip, snap, and it's done. Yes, they are larger than I need, but when the glue dries, I slice off the protruding bits.
How is the Veritas plane working as configured? Lee Valley didn't have one to show me at the woodworking show I went to in Springfield Mass. I have a record 405 that is working ok for me, but I would like to get something a little less bulky.
ReplyDeleteThe short answer is that it works very well and I like it a lot. The only issue with it is that it is very expensive ($275 for the plane and 5 blades, more if you get the conversion kit and the larger blades) for a limited purpose tool. In fairness, it is a very high quality tool. As you know, you can't always plow with the grain unless you have the pair, both left hand and right hand, but I haven't found that to be an insurmountable problem.
DeleteAndy, use a panel or hand saw with a wider set and you get a nice kerf for splines. On the other hand, when I was still working the craft show circuit, the veneer splined boxes I made by filling a dovetail saw cut with contrasting wood sold much better. The feedback was that tiny highlight looked cooler and "more difficult to make" than a thicker spline. Food for thought perhaps.
ReplyDelete